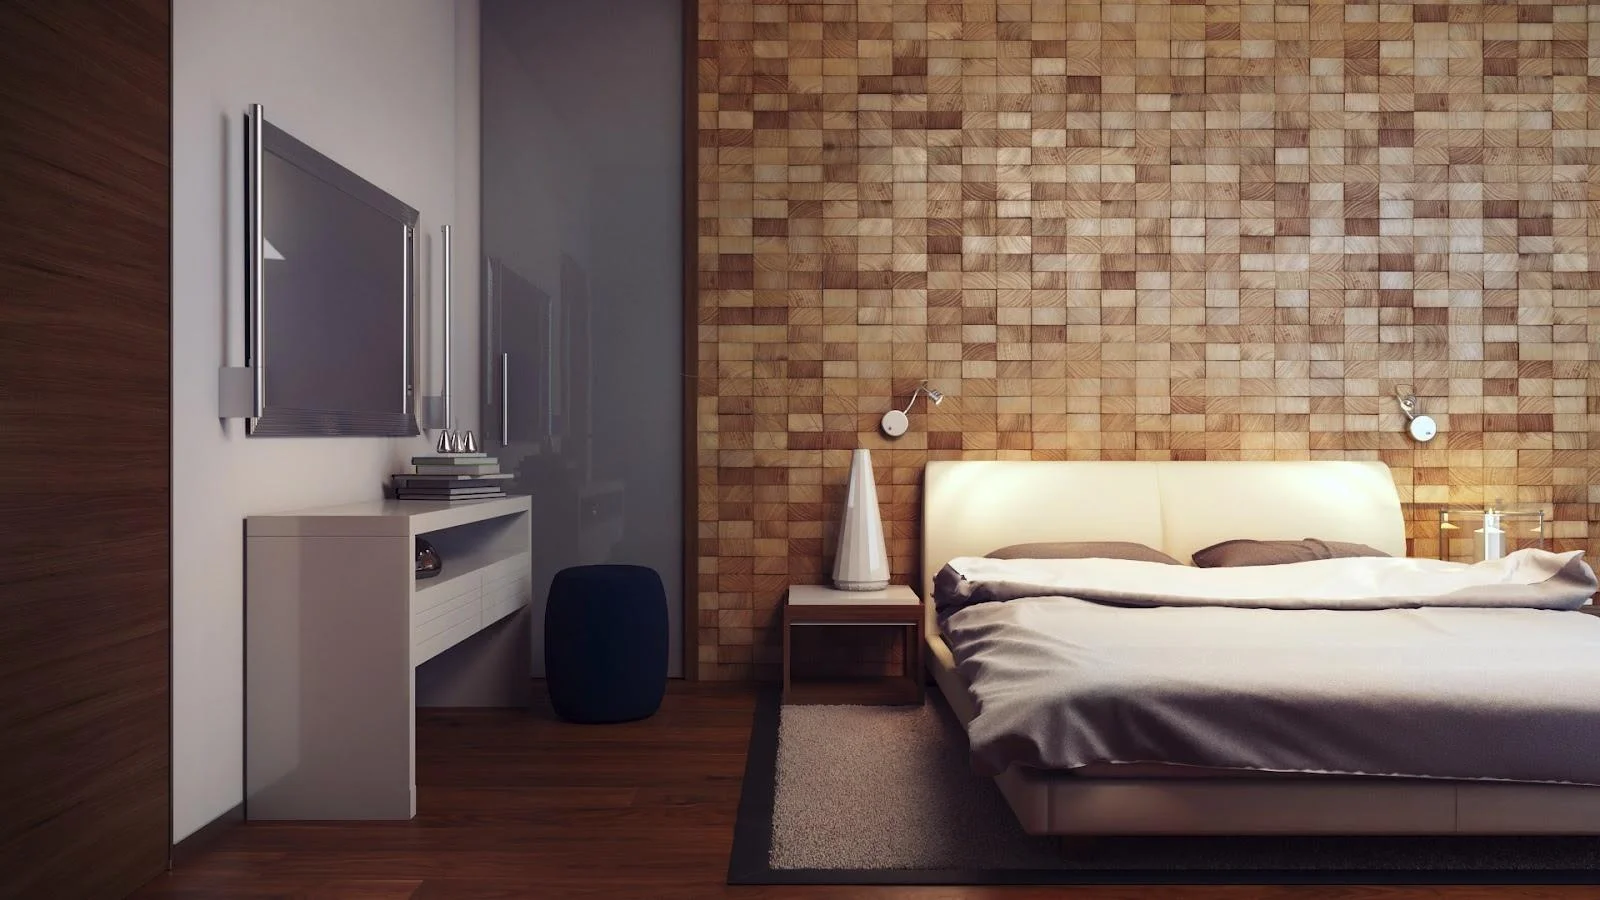

The rustic charm of recycled wood has remained a popular home design trend, seen throughout modern spaces. Perfect for a feature wall, the warm, woody tones and natural texture of recycled wood can give dull spaces, personality and depth.
Creating a recycled wood feature wall is an achievable DIY project, and one that proves affordable for savvy interior design enthusiasts. To begin this project you will need the following tools and materials:
Wood Planks

There are many sources of wooden planks available in the form of left overs. Consider wooden pallets, parts from old, unwanted furniture or old boxes, recycled sidings and floorings or left over wood cuttings.
Hammer

Use a hammer that you are comfortable with. Lighter hand hammers are available for those who find regular construction hammers too heavy.
Saw
You need something to cut up the planks. Although a little pricey, a chop saw is the easiest to use, and will be a good investment for future DIY projects. A handsaw and miter is also useful, affordable and recommended for DIYers.
Drill or Nail Gun

To secure the wood planks to the wall, you will need either a nail gun or a drill. A nail gun is the most convenient tool, allowing for quick application.
Drills and screws are harder to work with, but some people prefer this option in order to conceal the fasteners.
Nails or Screws
You will need nails if you are going to use a nail gun or a hammer to secure the planks.
Construction Adhesive
Construction adhesive or any other type of heavy duty glue will help keep the planks steady while you are nailing or drilling them into place.
Sander
This is another tool that will help revolutionise your DIY project, reducing the effort and time in your workload. Sanding will help smooth out rough textures, remove stubborn paint stains, and reveal the nature appearance of your wood. While sand paper can also achieve this task, a sander will reduce the manual work required.

Markers, Level, Tape Measure
These small tools provide useful in ensuring the quality of your work. Avoid time consuming mistakes and material wastes by being completely accurate with your measurements.
Protective Gear

Make safety your number one priority by wearing protective gear throughout construction. We recommend investing in safety gloves, protective glasses and a face mask.
Steps in Assembling your Wood Wall Feature
Prepare the wood to be used.
Thoroughly wash and dry your material. For recycled wood, you might need to scrub dirt, sand off old paint, or remove unusable parts.

Prepare the Wall
Plan your design. Remove all wall décor and furniture near the wall you will be working on. Clean the wall and lay out protective mats around the flooring area.
Cut the Wood Planks
Based on the design or the size of wall, measure and cut the lengths of your wood planks. Create marks on the planks and the wall section to allow for an easier application.
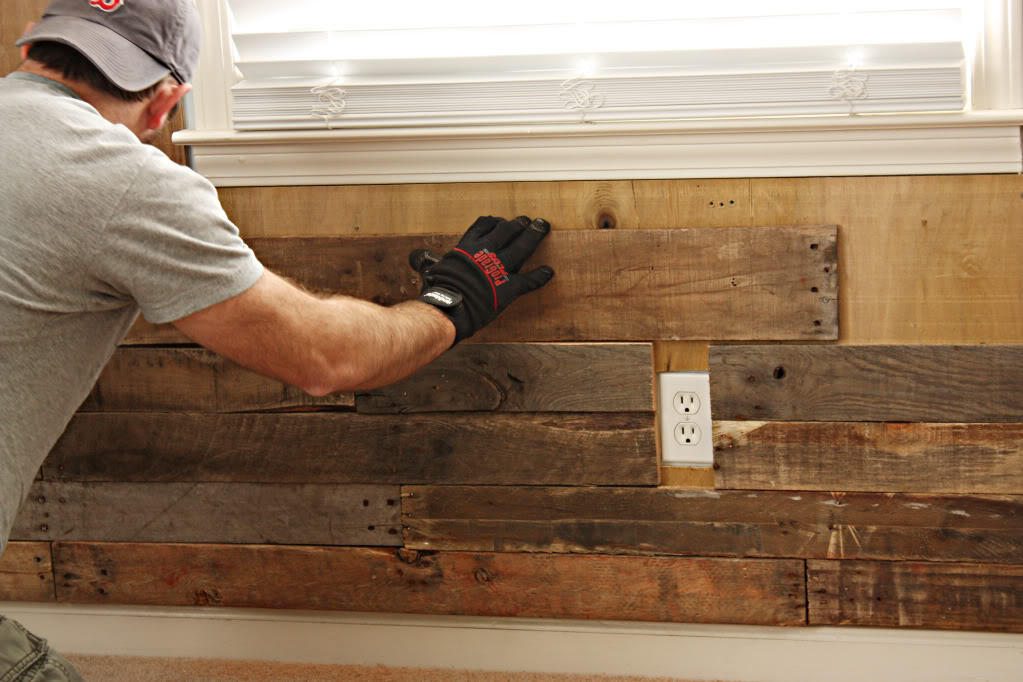
Apply the wood

Work on one plank at a time. Start from the bottom - up if you are aiming for a more traditional design, or from the center of the wall for a more geometric feature. Apply the recommended amount of construction glue to the back of the plank and position the plank against the wall. Use a level to ensure it's grade and continue by lighting hammering the plank to the wall.

Nail It!
Let the glue dry for few minutes before you secure the plank with nails or screws. Use at least four nails or screws to lock each corner of the plank into place. Of course this is subject to the size of the plank and you may need to use more nails on longer pieces of wood.

Final Touches
After the last plank is secured to the wall, take a breather and review your work. Check for any jutting planks you may need to sand back, unsecured planks, or corrections needed. Finally, clean the wood feature and paint, varnish, or burnish as preferred.
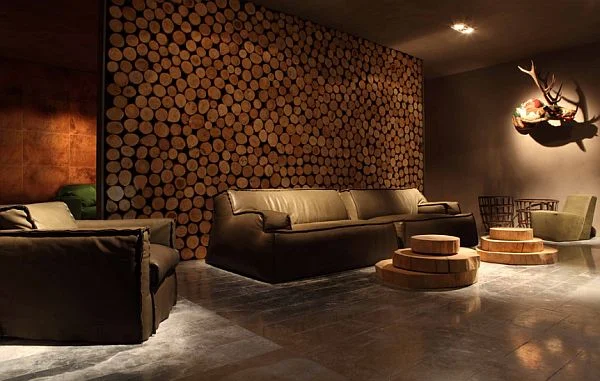
Designs we LOVE


Do you have an idea or comment we haven't covered, why not discuss it on our RenoForum!