
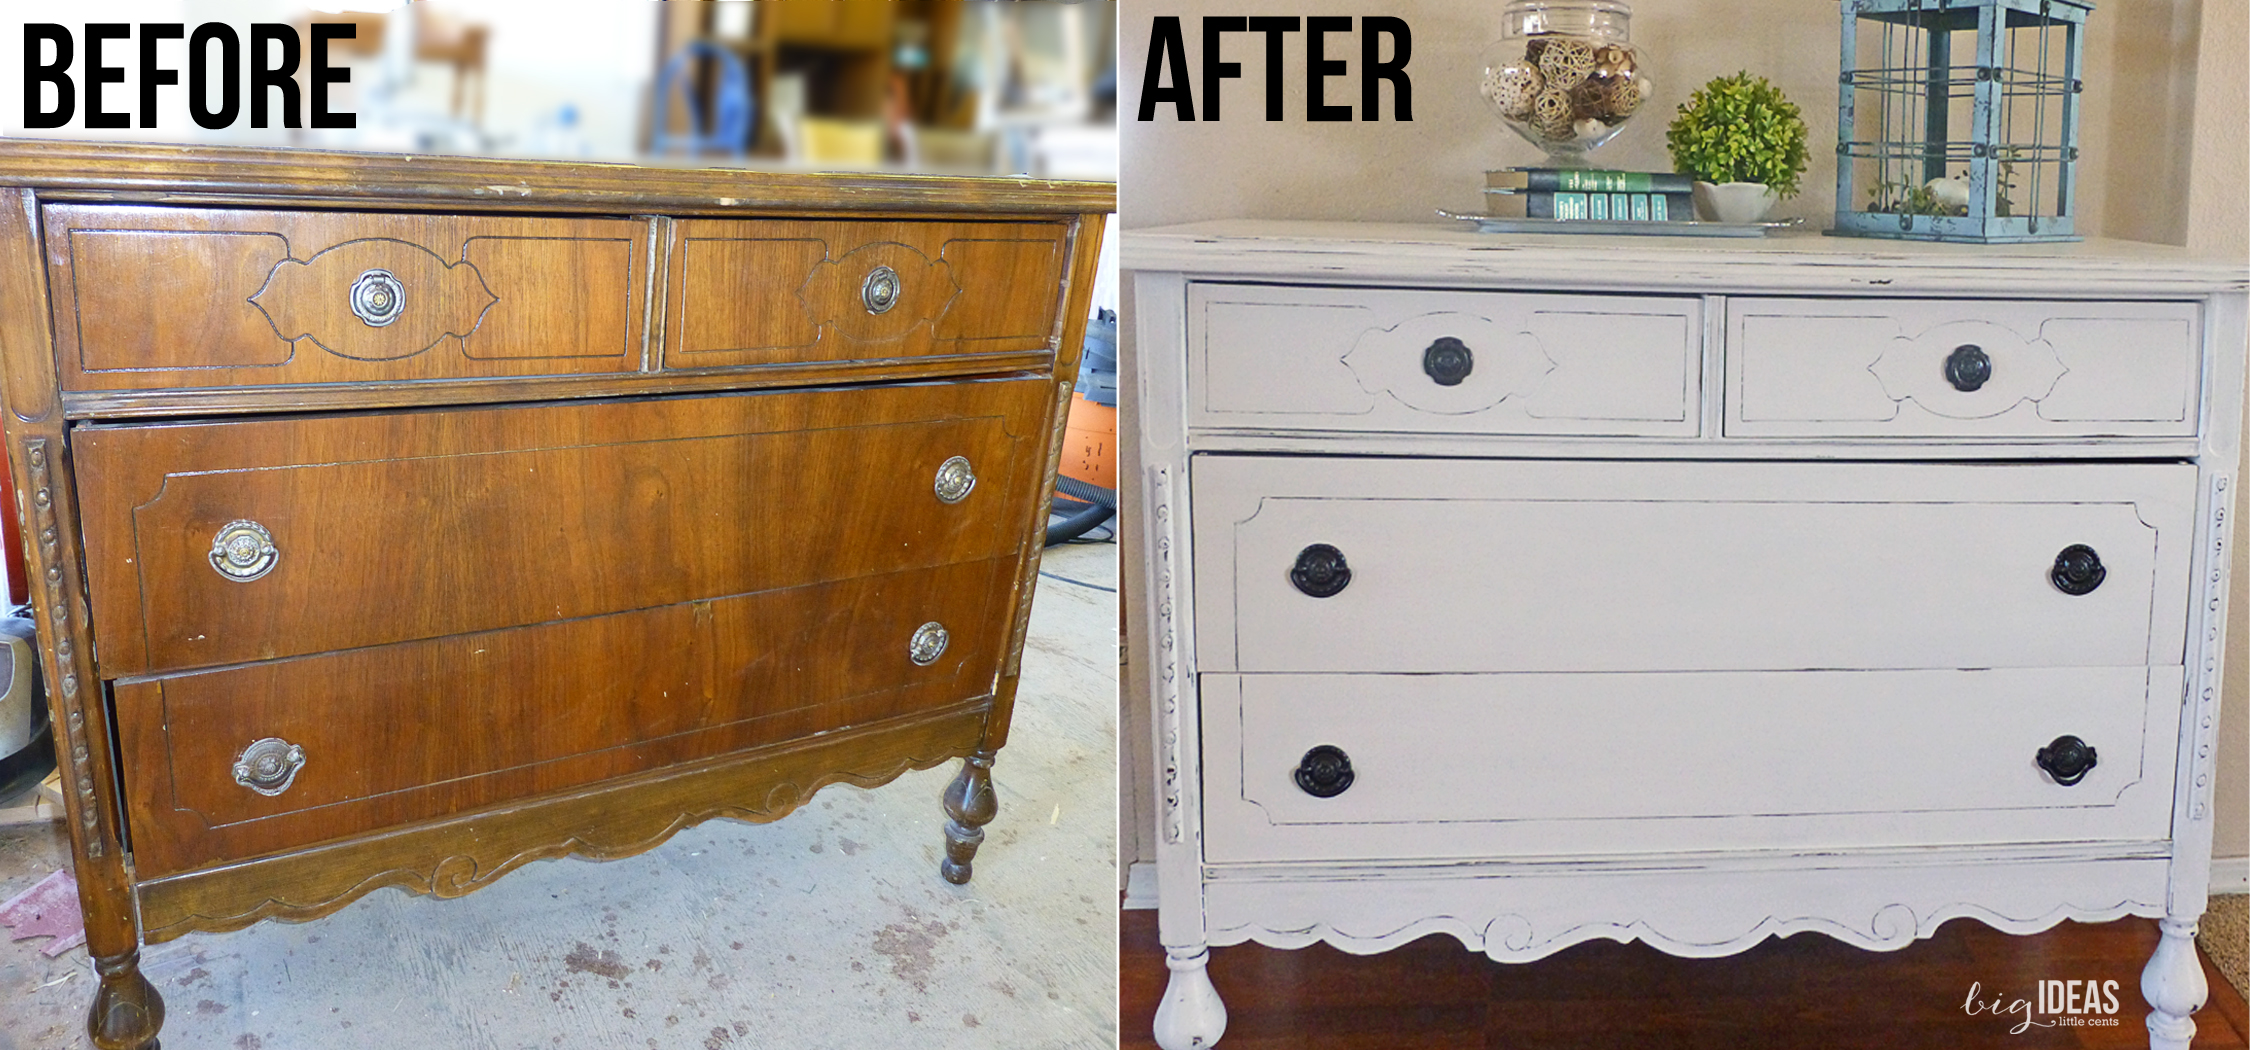
Home design and styling trends are slowly going back to the rich, creative, and beautiful. Odd pieces of fine-looking shabby chic furniture are showing up to add character to the drab minimalism of today’s home interiors. While the clean lines and basic colour palettes are still trendy, you can inject an interesting and rich personality to a modern room with a fascinating furniture.
Shabby chic decorating exudes the charm and quiet opulence of the past, and is embodied by old, scruffy, and still graceful pieces of furniture. High quality furniture are usually handed down from generation to generation. If you don’t have one, you can search for good pieces in thrift shops, antique furniture shops, vintage stores, or chance upon collectors’ garage sales. Or you can create your own shabby chic furniture with this easy DIY project.
For this project, you will need:
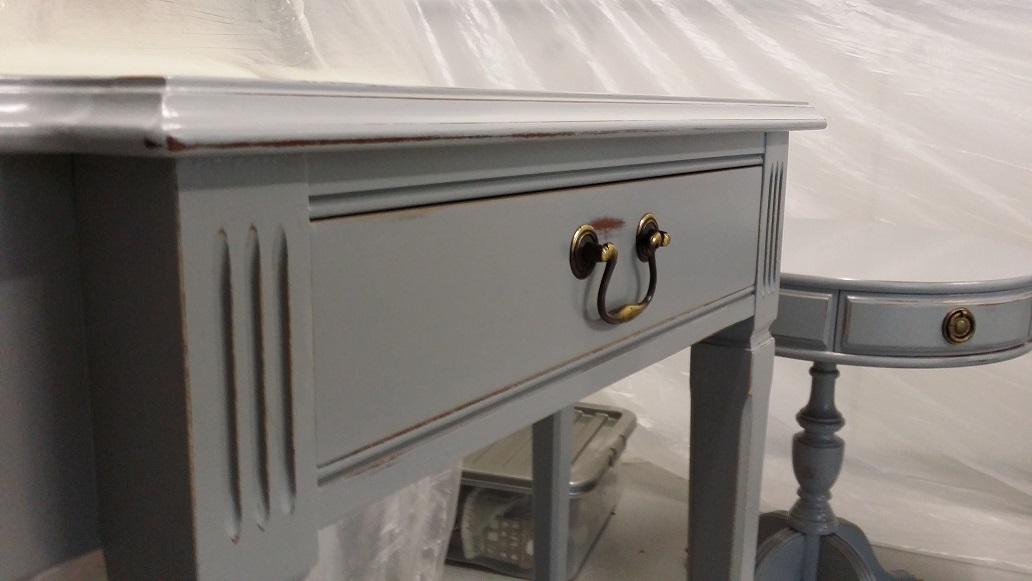
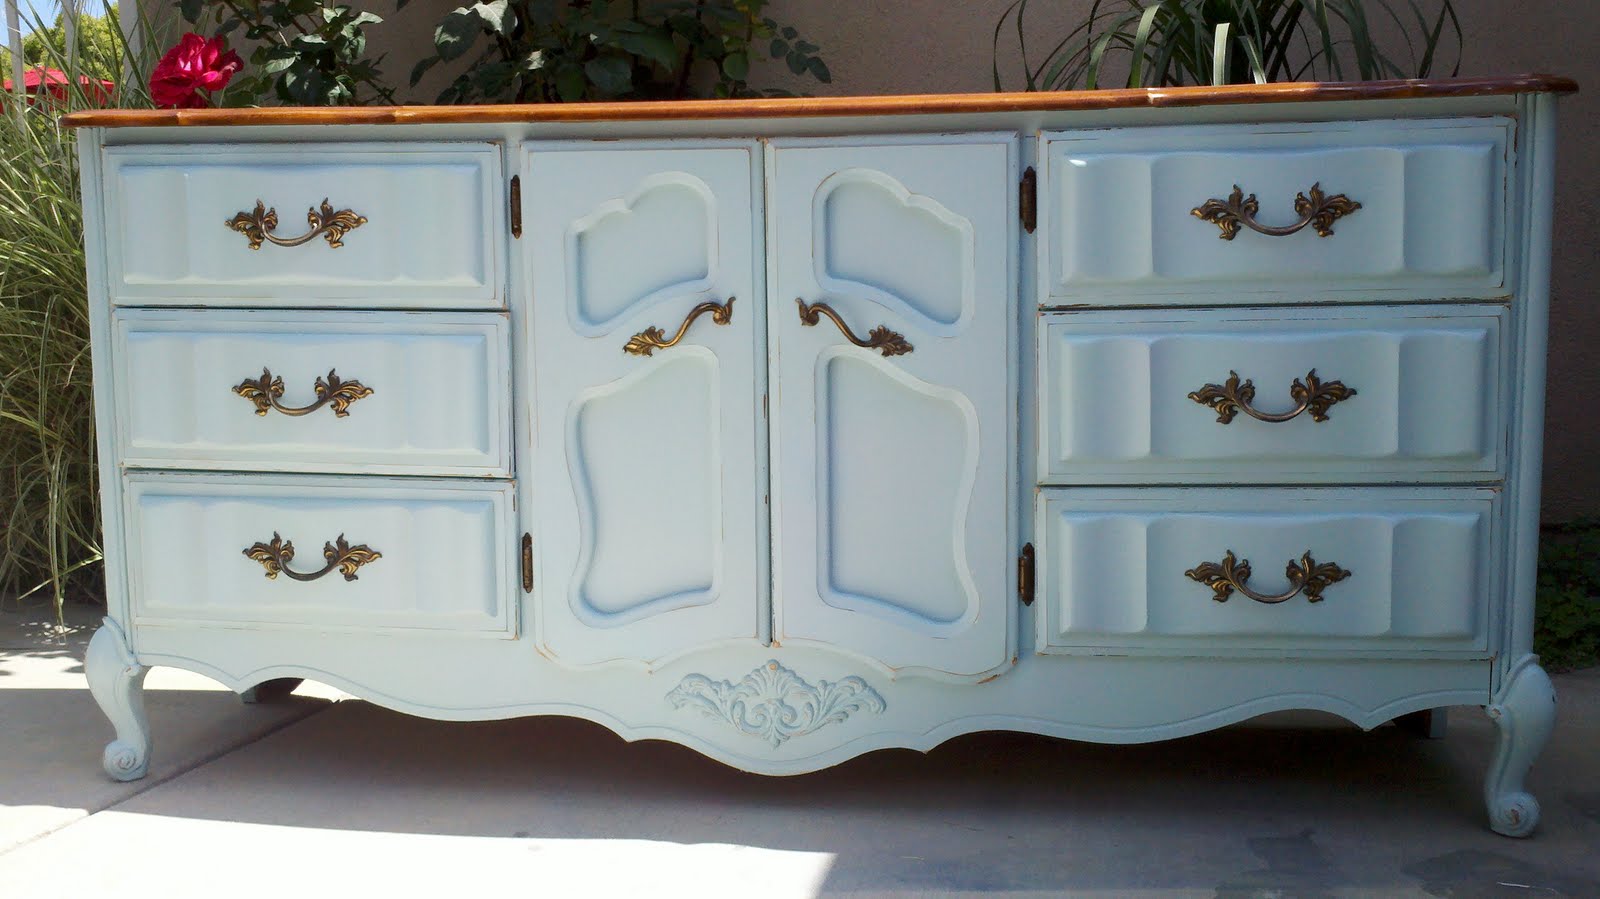
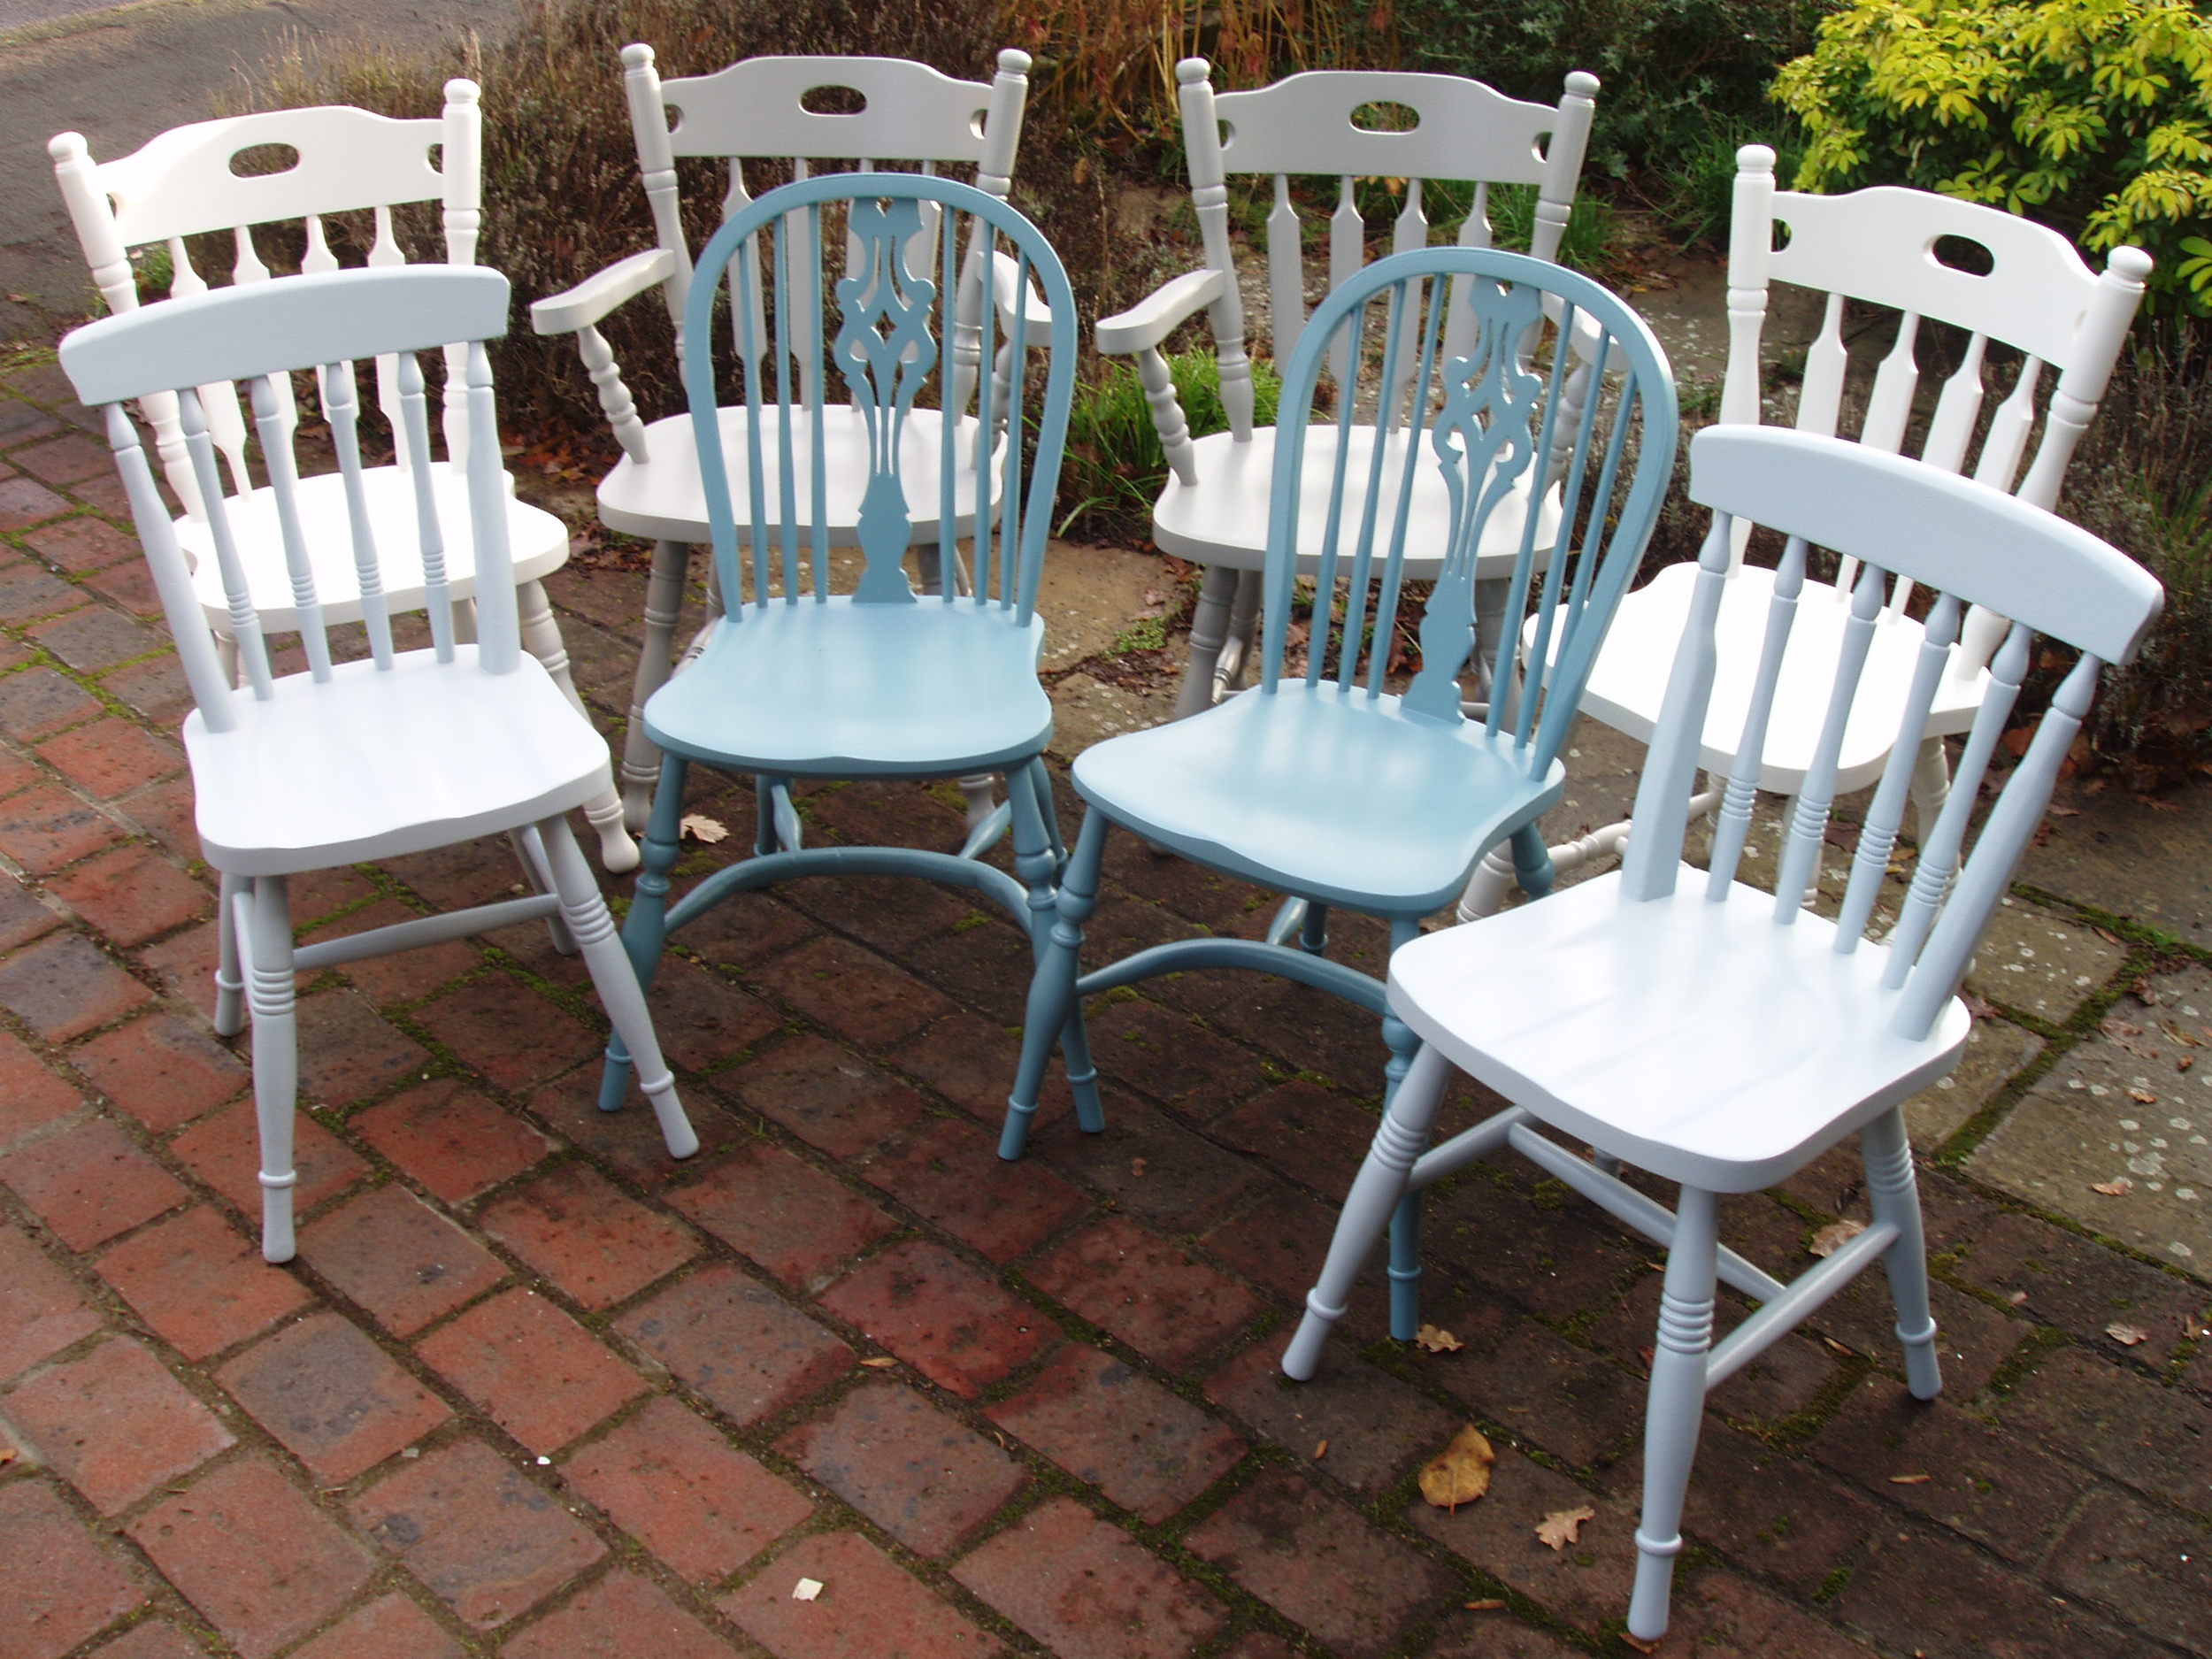
A good quality furniture
Look around for a good piece of wood furniture. It can be a side table, a bureau, a cabinet, a set of chairs, or a large mirror frame. It doesn’t matter if it’s new or old, as long as it has graceful lines and still in good shape.
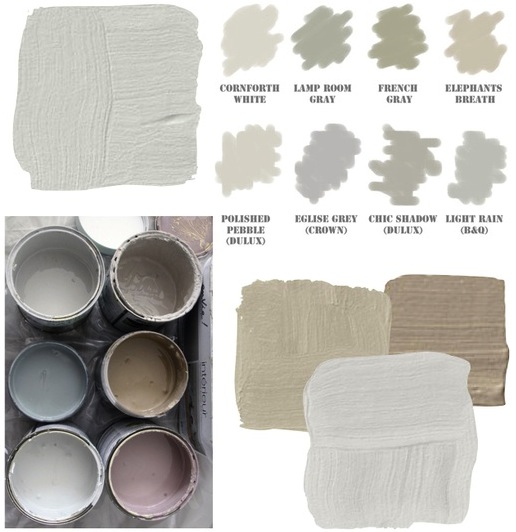
Paints
You will need two types of paint – the primer or undercoat and the top coat. A white primer is suggested. You can go for any colour for the topcoat. Water-based acrylic paint are fast drying and hard wearing, while oil-based paints sand easier and looks better.
Paint Brushes
Basic one or two inch wide paint brushes. Get as many types and colours of paint you’re using. You might also need smaller brushes if you need to deal with smaller areas and detailing.

Sandpapers or Nitromors

Few sheets of sandpaper should be sufficient, depending on the size of furniture you’re working on. Nitromors are easier to work with, but you have to be doubly careful on handling chemical substances.
Wash cloths
You will need to wash your furniture several times as you go along the process of transforming it from ordinary to shabby chic. Lint-free cloths are suggested.
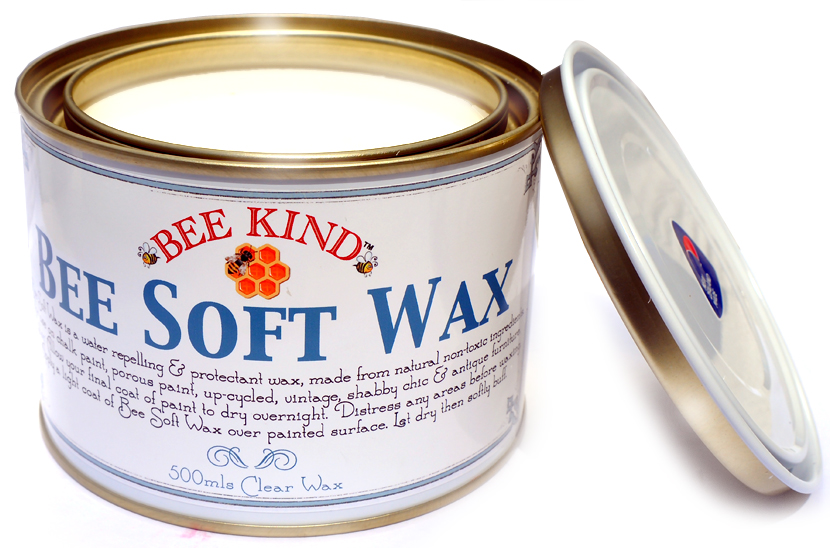
Furniture wax
To give your new shabby chic furniture a soft shine and finish. Can also be used to ‘protect’ certain areas between the primer and the topcoat, making it easier to distress.
Some old newspapers
Optional requirement. This will be used to protect the floor and other surfaces around the area you are working on.
Covering Materials

You will need some protective materials if your furniture have areas you don’t want painted on like screens or cloth appliques. Masking or painter’s tape can cover and protect smaller areas. Use Kraft or wax paper for larger surfaces.
Other Basic Tools
Screw drivers to remove knobs, handles and hinges. Scissors to cut out tapes and paper. Assemble and prepare other tools you would be needing like pliers, tape measure, and markers.

Protective clothing
Be safe and protected while working. Wear light and comfortable clothing with no hanging or loose parts like cords, flaps, ties, and wide collards. You will need a pair of protective gloves, nose or face mask, and eye protector especially during sanding and when using chemicals.
Steps in Creating your Shabby Chic Furniture
Clean the furniture
First, disassemble the furniture. Remove drawers, all metal and other detachable parts like hinges, knobs, and handles. Thoroughly clean the furniture with warm damp cloth. Let dry.

Strip old Layers of Paint
Second, work on removing old layers of paint or varnish. The goal is to expose the wood. Use nitromors and other similar chemicals for quicker process. Observe proper care and precaution when working with chemicals. Finish off with sandpaper to remove remaining smudges. Dry and then wipe down with dry cloth to remove dust and lint.

Cover Up and Prepare
Using tapes or paper, cover and protect areas like screens, built-in mirrors, and cloth appliques. You might now need to spread old newspaper or cloth to protect the floor from paint drips and smears.

Apply the Primer
Prepare the primer. Apply a thin coat of the primer starting with the inner surfaces of the furniture. This will make the painting a lot easier and all surfaces drying up quicker. Allow to dry completely.

Apply the Topcoat
Before you apply the topcoat, make sure that all surfaces are dry. Wipe down with dry cloth to remove dust and lint. You might also want to apply dashes of furniture wax along the areas you want to distress. Let dry before the second coating. Following the same route, apply your topcoat paint. Let dry.

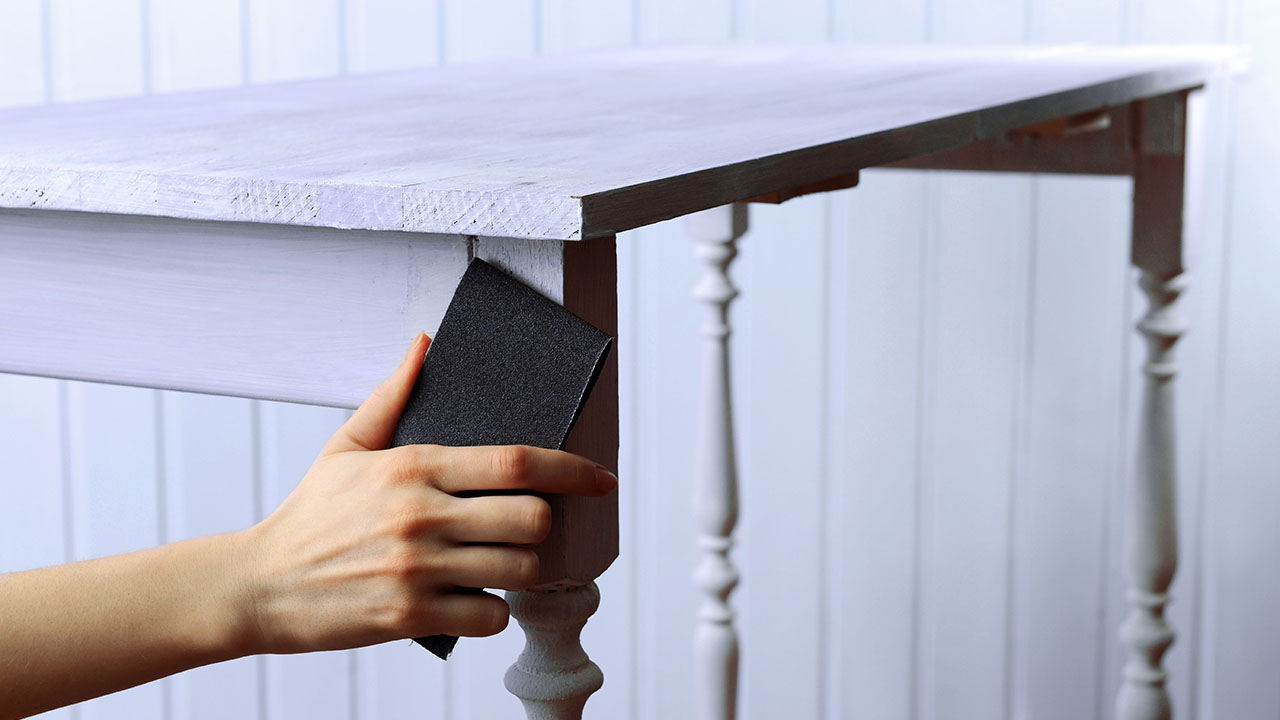
Distress
Distressing is the fun part of creating your shabby chic furniture. Determine the parts of the furniture that normally get distressed of scuffed. Corners, handles, top counters, and protruding parts are more likely grazed and scratched than side and inner panels. Concentrate on these areas when sanding and scuffing away. Work carefully, sanding off small portion at a time. Over scraping is hard to remedy.

Apply Finishing Touches
Once you achieved the right ‘shabbiness’ wipe down the furniture one more time to remove dust, scraped paint, and wood. Coat with furniture wax and replace handles and other parts removed for the process. Reminder: too much waxing will result to a polished finish, which will contradict the shabby chic look you are trying to create. Just apply a thin layer enough to protect the wood furniture.
Do you have any shabby chic furniture suggestions and ideas that we haven't covered? Why not discuss it on our RenoForum!